I love pierogi. I do I do I do! They are especially wonderful this time of year since they are hearty and filling. For those who need a clue, I'll fill you in. Many different cultures have some version of a dumpling. There are fried buns (Russian), pot stickers (Chinese), gyoza (Japanese), Fufu (Africa), Ravioli (Italy), and a whole bunch more that I can't think of at the moment. Dumplings are simply cooked balls of dough. They are typically starch based using flour, potato, or bread; they may or may not be filled. Pierogi are the glorious dumplings that come from Poland. Traditionally they are filled with potato, ground meat, sauerkraut, cheese, or fruit. Most often they are boiled, then fried or baked to give a slightly crisp texture. And dude, are they yummy!
In my area, what we consider "specialty foods" can be hard to find. The only pierogi I can find around here are Mrs. T's in the freezer section. And I almost picked some up the other day. Then I thought better of it. I said to myself, "Elle! You have culinary training. Like, good culinary training. You've made pot stickers and ravioli all by yourself like a big girl chef! Surely you can make pierogi." Oh! And when I got home, the first post in my news feed was from a lady that goes to my church who posted a recipe for- wait for it- homemade pierogi. IT WAS A SIGN! So I did it. And they were awesome. So here is the recipe, with my small adjustments:
Homemade Cheese and Potato Pierogi (adapted from 12 Tomatoes)
Dough:
2 cups unbleached, all-purpose flour
1/2 tsp kosher salt
1 large egg, room temperature and lightly beaten
1/2 cup sour cream, room temperature
1/4 butter, softened (you could also use olive oil)
Mix together the flour and salt. Add in the egg and blend together with a fork. The dough will be very clumpy and crumbly which is totally ok at this point. Work in the sour cream and butter. I found that it was easiest to start blending these ingredients in with a fork, then switching to fingertips as the dough comes together more. Knead the dough for approximately 3 minutes folding it over a few times as you go. The end result should be a moist, relatively smooth ball of dough. Wrap it in plastic and refrigerate for 30 to 60 minutes. It will hold nicely for up to 48 hours.
Filling:
1 cup mashed potato*
1 cup shredded cheese (I used sharp cheddar this time)
1 Tbsp butter
1/2 tsp salt
1/2 tsp ground black pepper
1/4 tsp paprika
1/4 tsp garlic powder or 1 small clove of fresh garlic, grated
*[I peeled and roughly chopped 1 large, russet potato. I boiled it in salted water for about 8 minutes until it was tender, drained it, and mashed it with a fork.]
While the potato is still warm, mix all ingredients together until the cheese has melted and is evenly incorporated. Allow mixture to cool completely.
Assembly:
2 to 3 Tbsp flour**
1 large pot of boiling salted water
rolling pin
2-inch round cutter or drinking glass
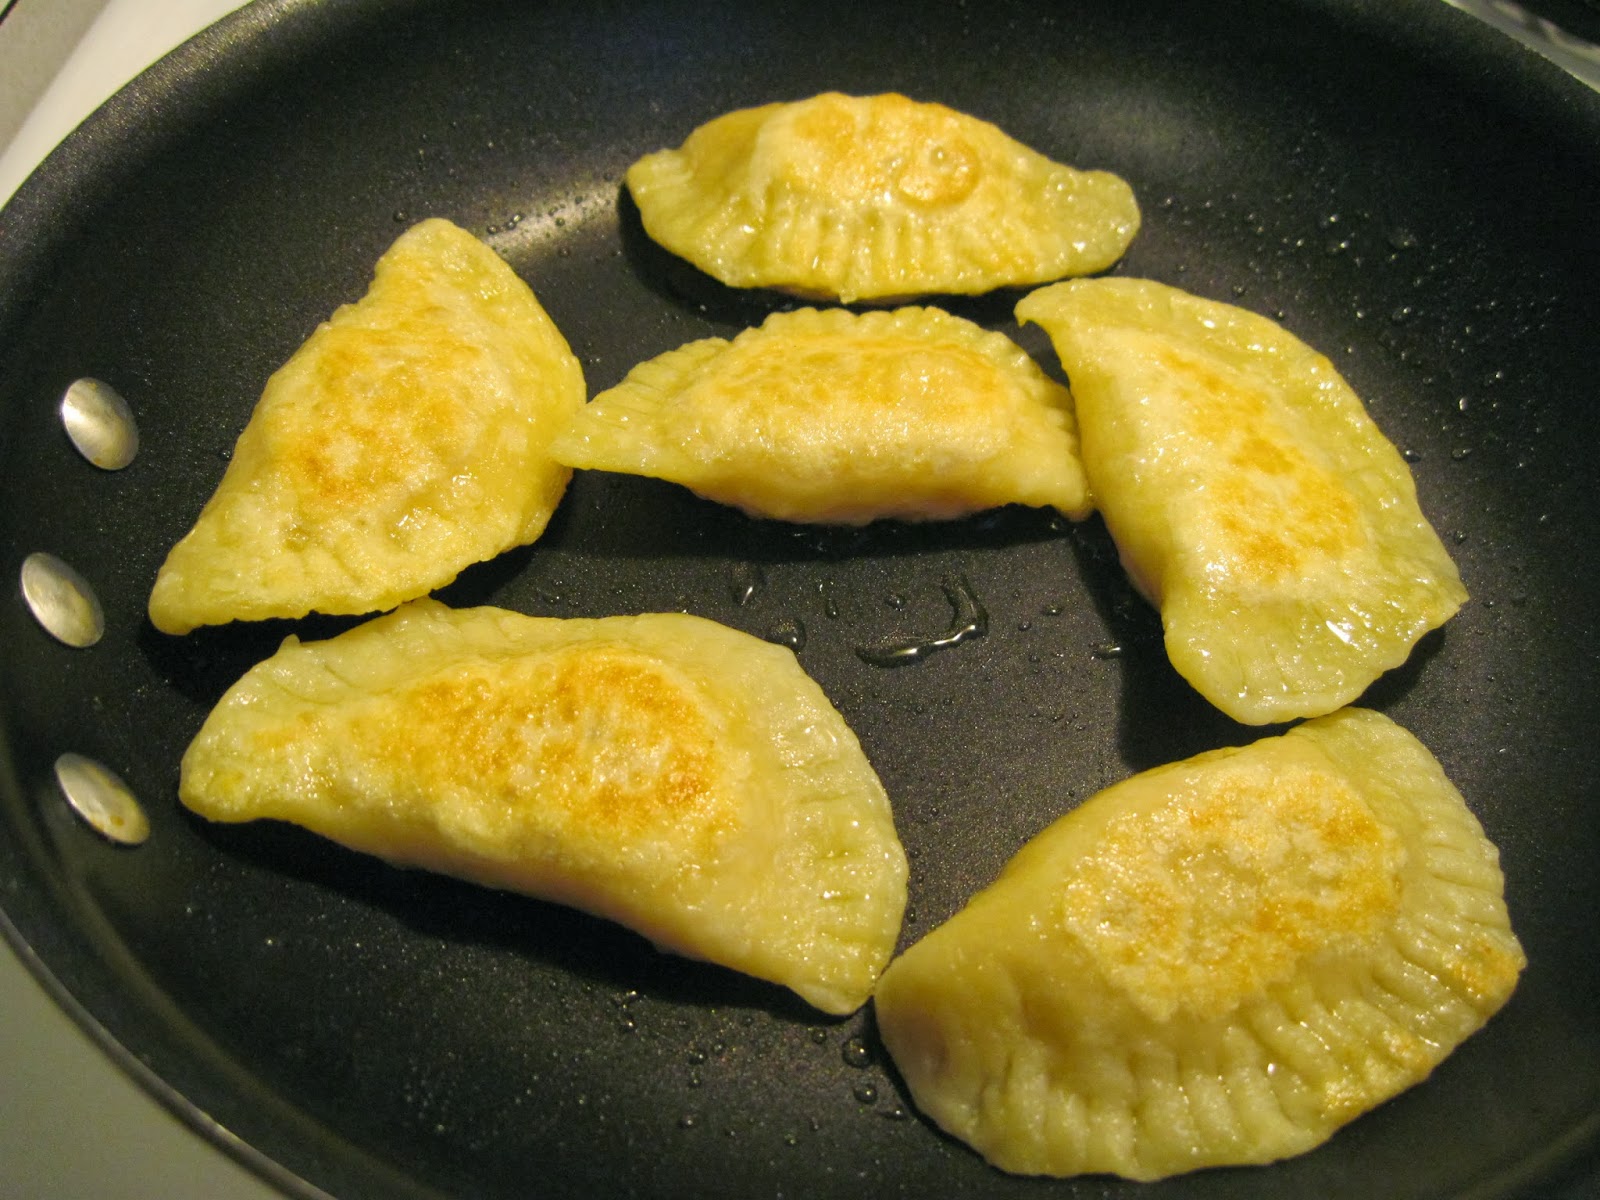
Break the dough into 2 pieces. Roll out half of the dough to about an 1/8 inch in thickness. **You will need to flour your rolling pin and cutting surface very well as this dough tends to be quite sticky. Cut as many dough circles as you can and gently set them aside. Repeat with the other half of the dough. You should get 20 to 24 circles if using a 2-inch cutter. Place about 2 tsp of the cooled filling in the center of each dough circle. Fold the dough over forming a pocket and pinch the edges together to make a seal. Press the tines of a fork around the edges to unsure the dumplings are sealed well. (I tried using a pastry wheel to make the edges pretty, but it didn't work so well. The dough is too sticky. I don't recommend it.)
 |
| This poor little guy in the front fell victim to my pastry wheel experiment. Just stick with the fork. Ha! |
 |
| Mmmmm... |
 |
| I served ours with kielbasa sausage, applesauce, and sour cream. (The green stuff are snow peas I threw in for color.) |
Now that I've made them successfully, I'll start playing around with the fillings and try to make them look prettier. If you try this recipe, let me know how you liked it!
Sources:
Original Recipe
Pierogi research
Shared at: Frugal by Choice, Cheap by Necessity
I love the pierogis the old ladies at the Ukrainian hall back home used to make. I've made them myself a few times, and they're so delicious. It's a time consuming endeavor though. I hope I can find the time to make your recipe.
ReplyDelete