Showing posts with label citrus. Show all posts

Monday, July 19, 2010

The Great Lime Massacre of 2010

It's summer time and it is particularly hot this year. In order to cool off, I tend to drink tons of water and eat ice cream. But I've grown tired of ice cream. It's hard to believe, right? I mean, unless you don't care for it in the first place, who honestly gets sick of ice cream? I couldn't make sense of what I was saying until I thought about cool, creamy alternatives that are just as delicious in the summer. One of the first things that came to mind was Key Lime Pie.

Being the specific breed of Elle that I am, I often think things are more complicated than they really are and the recipe for Key Lime Pie was no exception. Here I was thinking that I'd have to make a curd filling and pray to goodness that it doesn't come out grainy. Uh huh. Turns out this is one of the easiest recipes on the planet. I got my recipe from epicurious.com and added my own twists (of course). The ingredients go something like this:

For crust:
1 1/4 cups graham cracker crumbs from 9 (2 1/4-inch by 4 3/4-inch) crackers
2 tablespoons sugar
5 tablespoons unsalted butter, melted

For filling:
1 (14-ounce) can sweetened condensed milk
4 large egg yolks1/2 cup plus 2 tablespoons fresh or bottled Key lime juice (if using bottled, preferably Manhattan brand)

For topping:
3/4 cup chilled heavy cream
2 Tbsp powdered sugar
Super simple. Now, remember just a few minutes ago when I mentioned that I like to make things complicated? It's true! And I'll prove it.

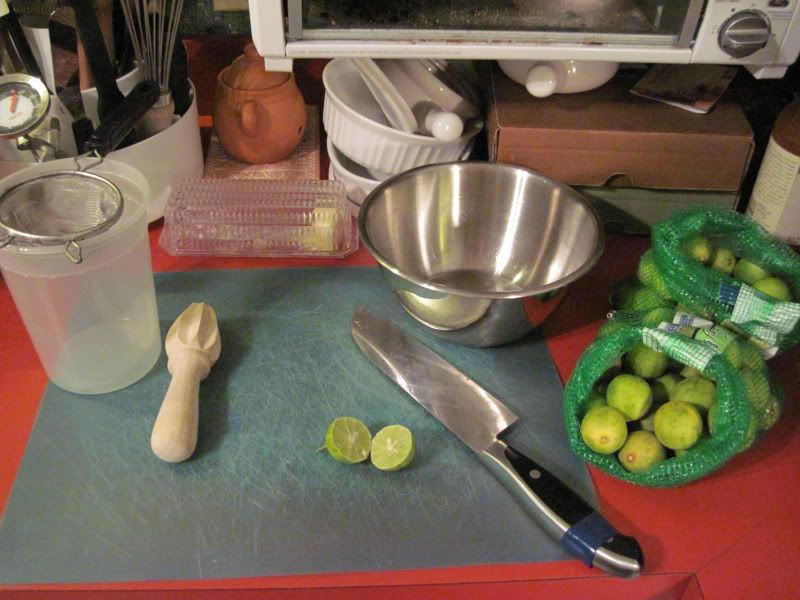
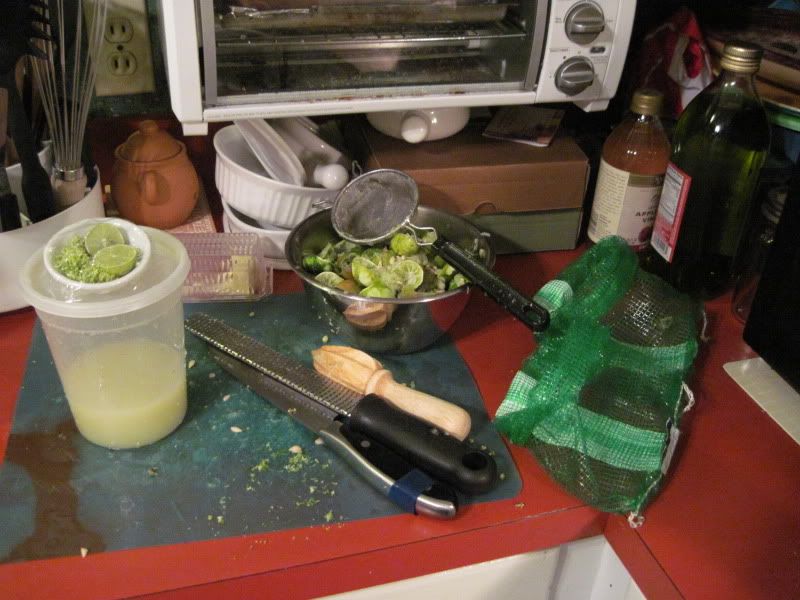
While I was in the grocery store, it came time to make a decision- fresh squeezed or bottled? It was $6 for a bottle of key lime juice or $2.99 per pound of key limes. Like any glutton for punishment, I chose to pick up 2 lbs of key limes and squeeze them myself. I will say that it was totally worth it. That way I could also use the zest of the key limes as well as save a few for garnish. Admittedly, my hands hurt. I used a wooden reamer and a fine mesh strainer. I also discovered another way to dull my favorite chef's knife. This can be accomplished by slicing 2 lbs. of key limes in half. Oh! And did you know key limes have seeds? I didn't. Or at least I didn't remember them having seeds. I'm so used to our little seedless limes that it really threw me off.

Below are some pictures I took of the Great Key Lime Massacre of July 2010 and the end result:
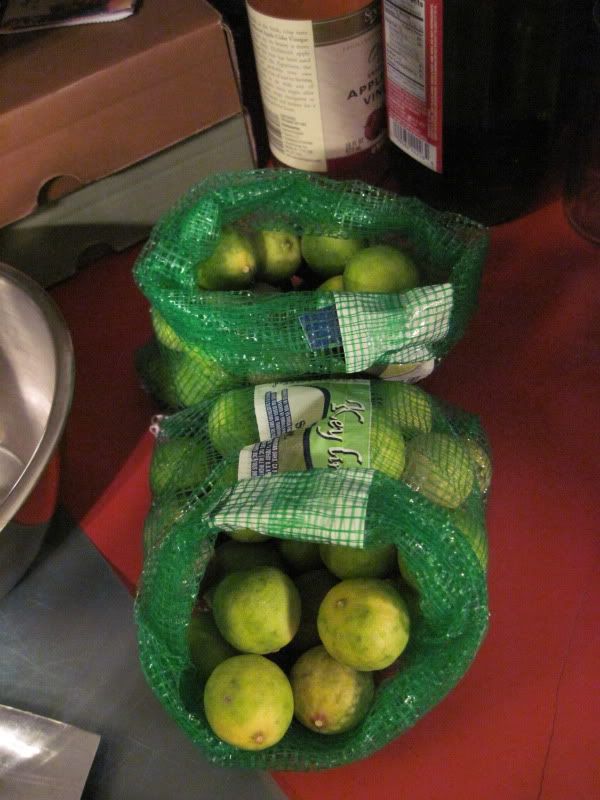
2 pounds of key limes


Let the massacre begin!


The aftermath...

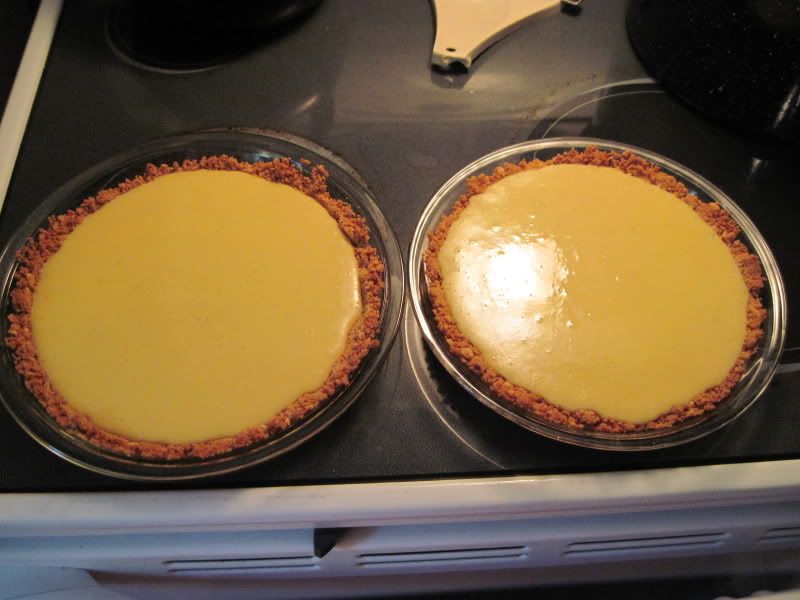
The recipe makes 1 pie. I doubled the recipe to make 2; one for dessert this week and one to be frozen for later use.

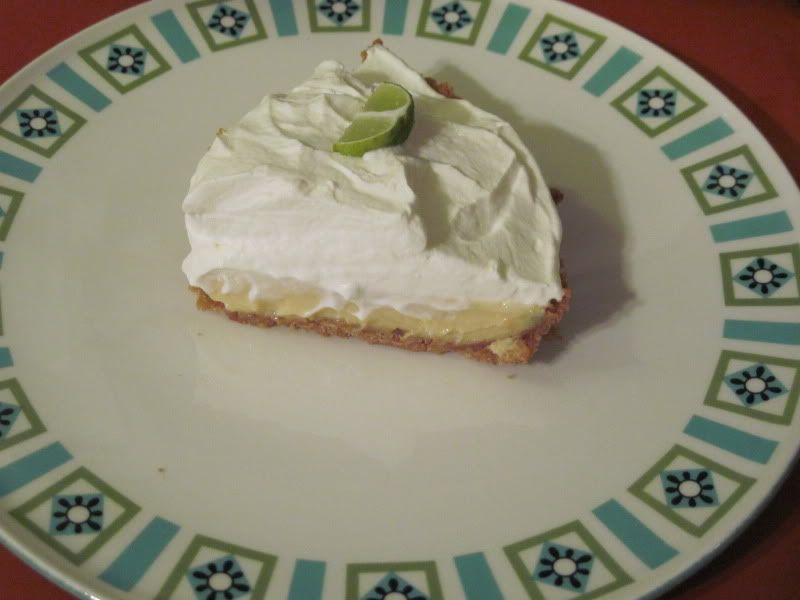
The end result!

A few suggestions:

I chose to simply spread the whipped cream on top of the pie. You can also pipe the whipped cream on and make it a little more decorative if you'd like.

I highly recommend adding about a teaspoon or two of the zest if you can. I personally feel that it brings out the actual lime flavor rather than just tartness.

These pies can easily be frozen and saved for a potluck, a welcome to the neighborhood gift, or just another nightly dessert.

There is no shame in eating it frozen!


The End.

Sunday, May 9, 2010

Food scams 101

I feel cheated and betrayed. Have you ever had a one night-stand with a guy that you thought was gorgeous that night, but the booze wore off and reality set in the next morning and he turned out to be horrifying? Did you sneak out quietly feeling disgusted and unsatisfied? No? Me either. But I imagine that this feeling is similar to the way I felt after looking at the label of my half-consumed Fuze drink yesterday.

I was picking up a few items at the grocery store after running some other errands. On my way out of the produce section there was a refrigerated drink cooler with Vitamin Waters, flavored Dasani, spring water, juices, and other juice type drinks. I noticed a row of Fuze and scanned through the different flavors. Citrus Prickly Pear. My brain said, "Dude that sounds delicious! Get it!". So I obeyed. (Yes, my brain calls me Dude.) I took that and my other purchases and finished up my errands.

I got home and after putting things away, I grabbed my newly acquired drink and a snack. The Citrus Prickly Pear Fuze was quite tasty. It was really refreshing as well. But then there was an aftertaste. I kept tasting the essence of apple juice a few minutes after taking a sip. I looked at the ingredients to see if there was apple juice in it. I know many juice cocktails or fruit drinks will use several different kinds of fruit juices aside from the main flavors as fillers or sweetners as to avoid added sugar. Sure enough, there was apple juice in the ingredient list. But I kept reading out of curiosity. My fears were confirmed. The only thing citrus about the drink was citric acid. There was nothing remotely prickly pear mentioned at all. After a discussion of this matter with some friends, we concluded that it's possible the vague ingredient(s) of "natural flavors" could be the extract of these fruits. Regardless of that, I'm extremely annoyed. Basically, I paid $1.50 for some apple juice with chemicals and additives. I'm not impressed at all. I would have rather it all just been artificial flavorings and tons of sugar. This is such a scam. I guess this is what we can expect from large corporations, sadly.

I feel like I've been lied to. If you're going to call something Citrus Prickly Pear, why not actually use those ingredients? Yes it would cost more. But I think it would be more satisfying to actually taste those things instead of some funky apple juice. I wouldn't put an apple crisp on a menu and serve you pineapple spears when you ordered the apple crisp.

This will teach me to not read labels before buying something. READ THE LABELS ON THE PRODUCTS YOU'RE BUYING, PEOPLE! Don't make the same mistake I did.

Elle

Friday, May 7, 2010

Delicious adventures in cheesecake!

Momma's birthday was on the 5th of May. And mother's day is coming up this weekend. I wanted to make her a cake of some sort. But apparently so did everyone else. One of her co-workers is making her a tasty birthday cake of some sort. Honestly, I can't remember what kind of cake it's supposed to be, but Momma seemed to be very excited about it. Regardless, I'm the cook/baker around here that hasn't been doing much baking as of late. This was a great excuse to change that. I suggested a few kinds of cakes that I could make, including her favorite carrot cake, but when I said, "ricotta cheesecake" I had her attention.

I've made something similar in the past with my own tweaks, of course. They were mini cheesecakes made in muffin tins. They were delicious, but I needed to find a recipe that would fit my needs a bit better. I've seen a few Food Network personalities make a ricotta cheesecake, so that was the first place on the Internet I searched. I found a recipe by Giada DeLaurentiis that interested me. I figured out how I was going to change it and add my own twist to it, then set off for the grocery store.

I returned with an armful of goodies for the cheesecake including some very beautiful strawberries! {/tangent} It's that time of year! It's nearing summer and here in the south, the berry season is starting. We just got a notice from our local Berry Farm that strawberries are in and ready to be picked! This is the best time of year for produce. My garden is starting to look wonderful, the farmer's markets will be in full-swing soon, and we get notices from the berry farms that things are ready to be picked! {tangent} I got everything to the kitchen and put in it's proper placed. Then I gathered my ingredients and made the following recipe:

2, 8 oz. packages of cream cheese (at room temperature)
1, 12 oz. container of ricotta cheese
1/4 C of clover or orange blossom honey
3/4 C granulated sugar
2 tsp orange, lime, or lemon zest
4 eggs
6 Tbsp unsalted butter, melted
8 oz. Biscotti cookies

9 inch spring-form pan
9 inch parchment circle (optional)
Aluminum foil
Large roasting pan
Boiling water

Preheat the oven to 350 degrees F. In a food processor*, finely grind the biscotti cookies. Add the melted butter to the cookie crumbs and mix thoroughly. The mixture should be slightly moist. Place the crumb and butter mixture into the bottom of a lined spring-form pan and press down to even out the crust. Bake in the preheated oven for 15 minutes. Allow to cool completely.

Meanwhile, with a hand or stand mixer**, blend the ricotta until smooth and creamy. It will still have the normal texture of ricotta, but needs to be smoothed a bit for better blending. Add the 2 blocks of room temperature cream cheese and blend completely. Be sure to stop the mixer occasionally and scrape down the sides of the bowl so all ingredients mix properly. Next, add the sugar and citrus zest. When those ingredients are incorporated, add the honey. Lastly, add the eggs and mix until just combined.

Wrap the outside of the spring-form pan with foil. This will keep water from seeping into the cheesecake. Pour the cheesecake mixture into the pan with the cooled crust. Place the spring-form pan into the larger roasting pan and place it on a middle oven rack. Pour the boiling water into the ROASTING PAN until it is about an inch and a half deep creating a water bath. This helps ensure more even baking and will hopefully give you a beautiful cheesecake with no cracks in the top. (Unfortunately, mine had a few small cracks. It'll still taste good!) Bake in the 350 degree oven for about an hour and five minutes. The cheesecake should have a very light golden hue and should jiggle slightly in the middle. Take the cheesecake out of the hot water bath and place it on a cooling rack for about an hour. After that, refrigerate for about 6 hours or over night. After the cheesecake is set and chilled completely, slice it and enjoy! Serving this with fresh fruit or a little bit of a fruit preserves would be delicious.

The great thing about using ricotta is that this isn't a super sweet cheesecake. It can also be adapted for a low fat diet. You could use part skim ricotta and reduced fat (or fat free) cream cheese. Using Splenda instead of sugar would also help cut some calories and fat.

See? I can share.

*If you don't have a food processor or a way to mechanically grind these, you can simply place them in a plastic baggy and beat the hell out of them with a mallet, rolling pin, or (if you have serious rage) your hand.
**You can also do this by hand if you're insane and want your shoulder to hurt the following day. If you have neither a hand mixer or a stand mixer, might I also suggest using the food processor again.

Elle